A new process
The general idea of this process is
- to apply an etch resistant mask using a 3D printer or laser cutter,
- etch the part using saline sulphate solution,
- and remove the etch resistant mask.
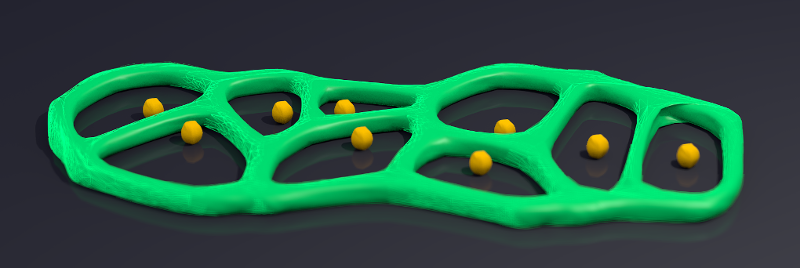
This process is certainly not new in itself (it was inspired by faceplace of the beautiful Audio Infuser 4700), but the steps along the way are. I’m primarily interested in the etch resistant mask, and how it can be produced in a personal fabrication setting. Several methods come to mind: the well known toner transfer method, applying a layer of filament as mask, drawing a mask using a permanent marker, pray-painting the mask on the aluminium using a laser-cut stencil. I’ve tried the last two methods. To test the process I tried to produce a piece of jewellery: a Voronoi like pattern.
Creating the pattern
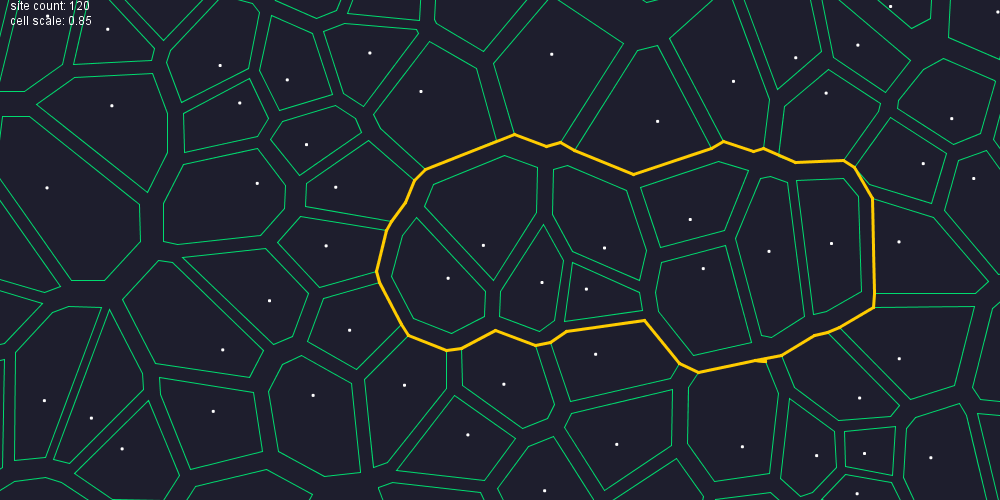
To create the pattern, I reused some code of mine to generate Voronoi patterns. I’ve added something like a perimeter editor, to design the boundary of the necklace (yellow border); as well as a G-code export to draw the pattern and an OpenSCAD export to produce the 3D preview.
1st shot: permanent marker
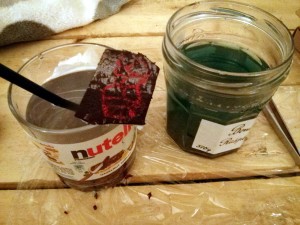 My first attempt was to have my MendelMax draw the mask using a permanent marker (STAEDTLER permanent Lumocolor, red, medium); turns out this marker is not resistant to the saline etchant. The saline etch solution consisted of 200ml water, 15g sodium chloride (salt) and 25g copper sulphate, which I stirred for about two minutes. After the initial submerging of the aluminium piece, I scraped of the red residue about every two minutes. Half an hour later, very little of the aluminium was etched away, but the permanent marker even more so; I stopped the experiment.
2nd shot: spray-paint stencil
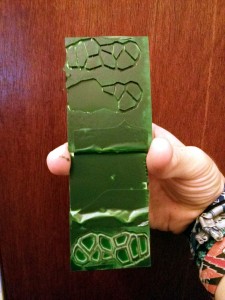 As the permanent marker did not withstand the etching process, I tried a different masking material: acrylic paint. To apply the mask, I cut a stencil from 2mm artboard; the pattern was generated using the OpenSCAD script exported from my Voronoi designer. Before painting on the mask, I cleaned the aluminium surface using Acetone. Then I carefully fixed the pattern in place using brown packet tape.
The saline sulphate solution consisted of 1 liter water, 140g sodium chloride and 70g copper sulphate, again stirred for about 2 minutes. To not loose the small piece of aluminium in the bigger tank, I fixed a strip of brown paket tape to the back of the aluminium sheet, which I then attached to the etchant container. I left the aluminium piece in the acid bath for about 2 hours, checking up on it every 15-30 minutes, again removing the red residue.
This attempt was a success, nonetheless. The saline solution was more potent this time, removing 0.6mm of material thickness in a bit under two hours. After the etching, I did some cleanup using a Dremel and removed the mask in an Acetone bath.
Going from here
Applying the mask was a very tedious and labour intensive process. Toner transfer or depositing PLA directly on the heated aluminium may be better ways to do it. Next steps could to be try those methods and see if the toner/PLA can withstand the etchant for a prolonged period of time.
Undercutting remains a problem, that would be tricky to solve, using even thinner sheets maybe a way to go. Also alternative etching solutions/baths could be explored.
Results and lessons learned
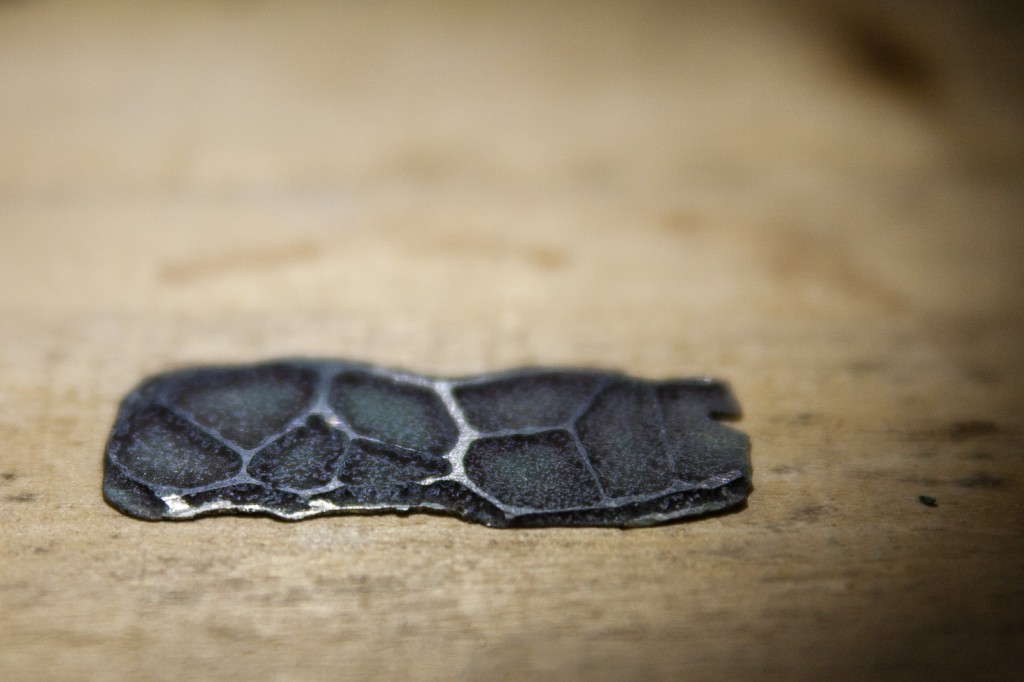
Overall I’m quite happy with the outcome, although it’s not exactly what I was going for. Once the masking problem is solved, undercut is the next problem to deal with. This time, undercutting prevented longer etching time so that the holes of the Voronoi pattern are not fully developed. If I was to repeat the process, I’d make the traces thicker and use thinner material to begin with. While this method works fine for small items, produced out of thin sheet material, it will not work for non-flat or precise objects.